P3-D1
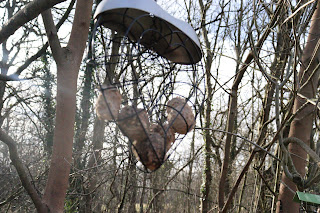
 Pre Edited Version.
 After Edit
 Above are the settings I used to edit my photo. As you can see I increased the exposure slightly and also decreased the contrast to -1. The highlights have also decreased the highlights to remove clipping from the image which leaves out a lot of the detail.

This how to change the aperture on a camera, it is measured in F/stops which are numbered 1-1. The aperture is how much light is let into the lens. For example, if the aperture is high then a lot of light would be let into the lens and vice versa.

I didn't choose this photo because of the angle it was shot at, it also had a lot of darkness so the detail was being lost in the texture of the wall. Furthermore, you can see in the bottom angle there are some cars in the shot.

Although this would have been a nice shot to take during the evening I can see now that it doesn't meet the brief I was set. It show a lot of the shot out of focus so it doesn't have a nice look to it. It also shows off the bridge in the far back with a lorry driving across.

This is the final shot I didn't choose mainly because I had better photos that shows off symmetry, it also


M3: Use a range of composition techniques in your images (golden ratio / high angles / low angle / close up / macro / landscapes / portrait)
D1: Control sharpness and evidence in a report explaining how you did this with multiple images. Show shutter speed (motion) and aperture (depth of field) being controlled for different images.

Comments
Post a Comment